
DIY Watercolor Copper Accented Escort Cards

Happy Wednesday, friends! I'm coming at you today with a new type of post. The Tabitha Shop blog is currently a work in progress as I experiment how best to serve you guys through it! So today, we're testing out a little DIY.
If you're planning a pastel or jewel-toned wedding, these copper accented escort cards would be perfect for you! They're relatively easy to make and use materials you can easily find at your local craft store or on Amazon. Depending on the number of your guests, however, it could be a little tedious to hand write all of them. So plan accordingly!

Materials:
Sheets of 3"x4" watercolor paper
Cutting tool to cut that paper
White oil-based Sharpie (I found oil-based was far better than a regular Sharpie!)
Square paint brush
Martha Stewart copper metallic paint

Step 1: After cutting your watercolor paper down to size, squirt out a small amount of copper paint.

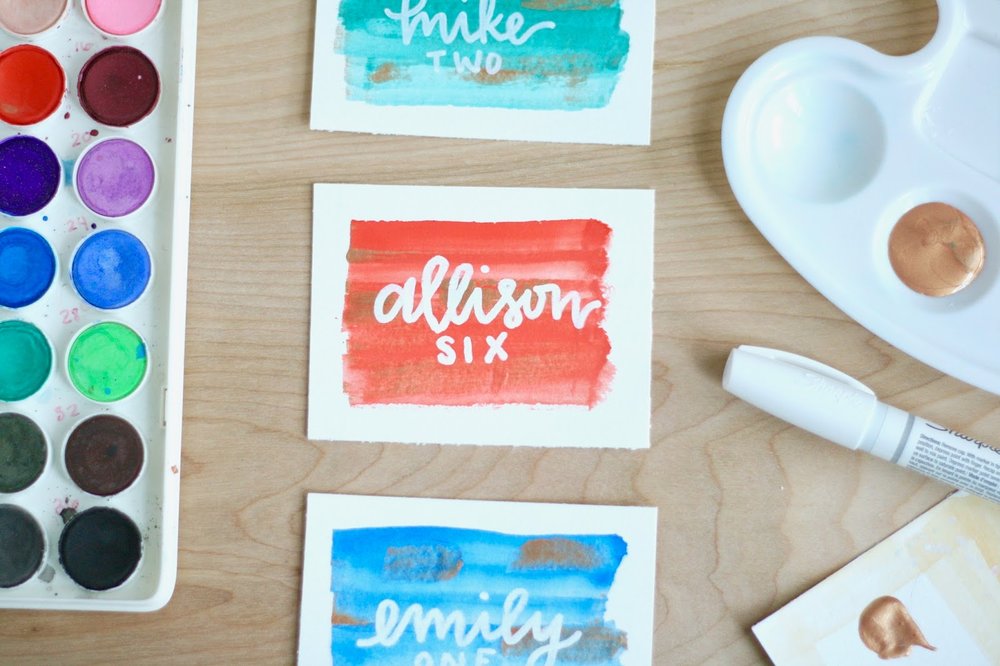
Step 2: Load up your paint brush with whatever color you'd like. I would recommend a darker color so that the copper and white stand out much more! Jewel tones is what I chose for my color palette.
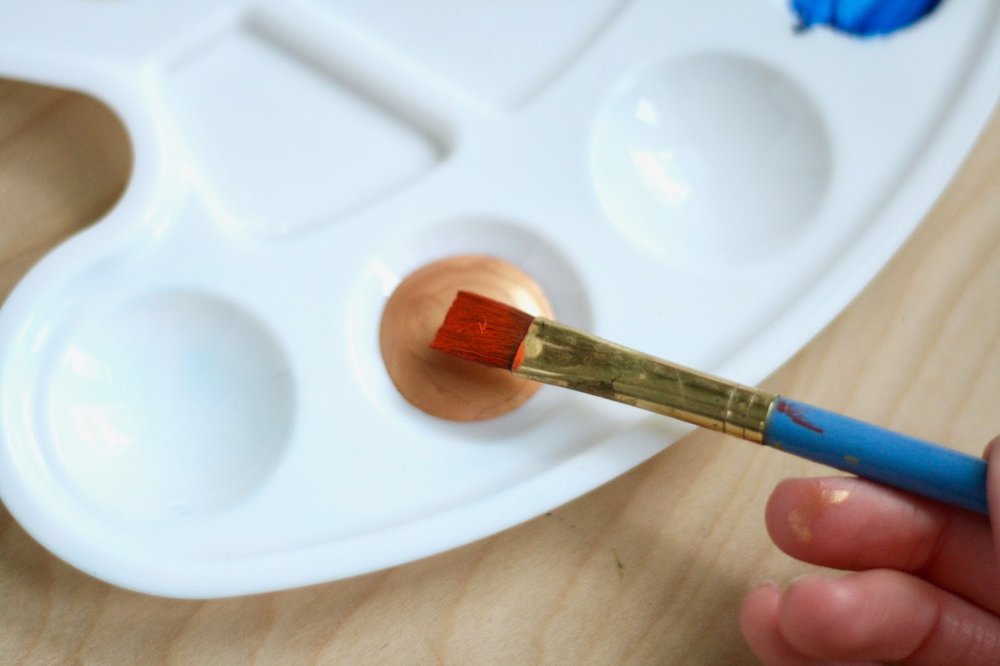
Step 3: Carefully dip the flat part of your square brush into the copper paint. You don't want to put too much on - just enough to cover the brush so you can use it later to put on your copper accents.

Step 4: Flip over your brush so that the color side is facing down. Then carefully drag your paint brush across in one swipe. Some of the copper from the other side might seep in, which is exactly what you want! Continue to swipe across until you've filled in your area.

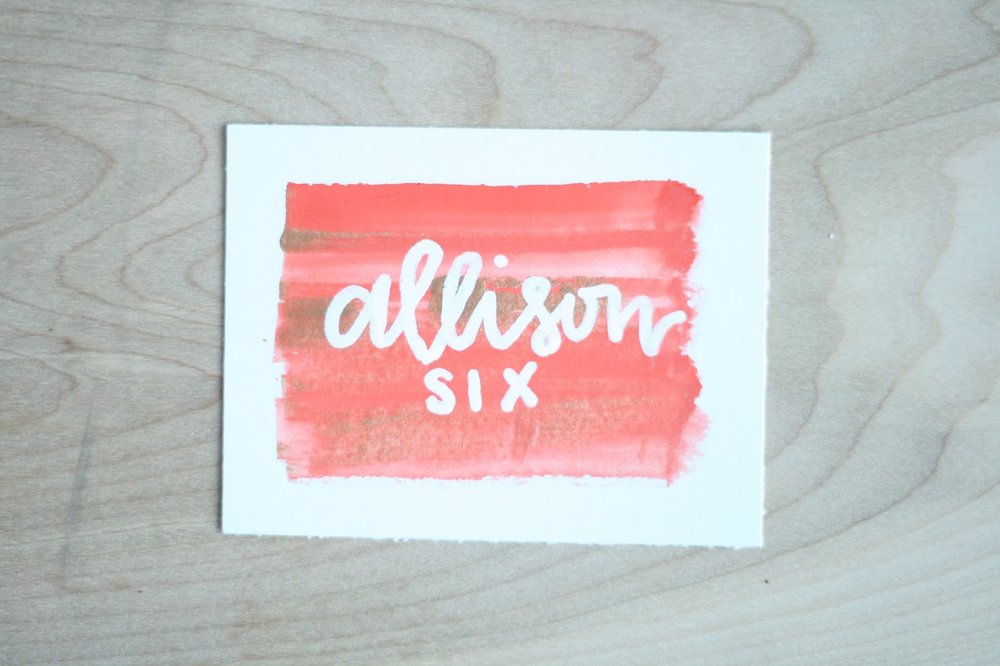
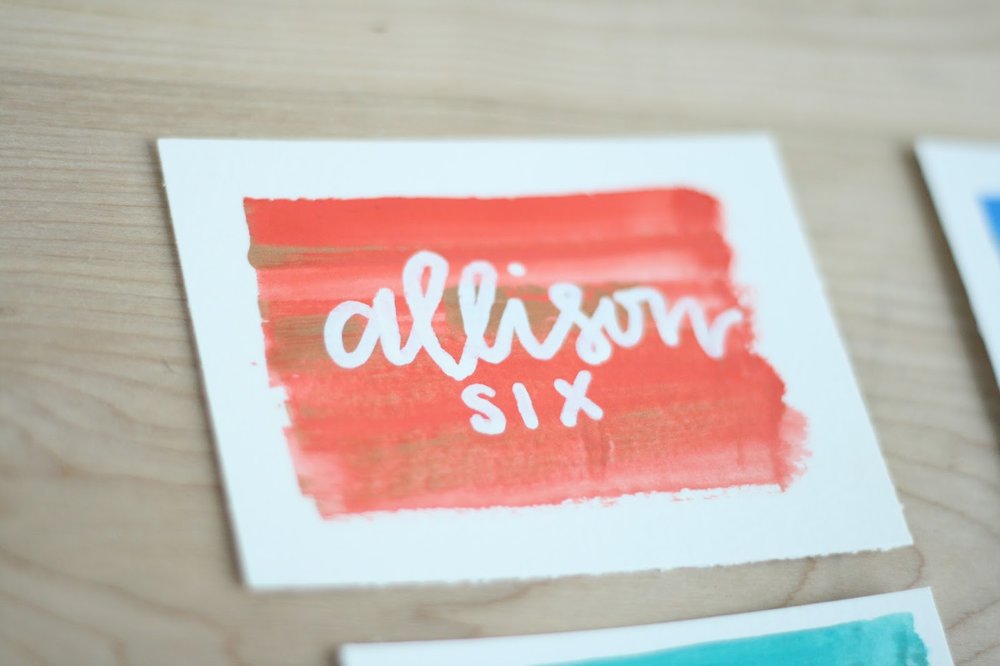
Step 5: I chose to leave a heavy amount of white space, but if you'd prefer to fill in the whole card with paint that's an option too! After you've swiped across a few times, you may already have some copper accents weaving through your watercolor. If you'd like more or don't have any accents yet, flip over your brush and very lightly sweep through the watercolor. You don't want to push too hard or you'll get a giant glop so be very careful and slow doing this.

Step 6: Let your watercolor dry for at least 10-15 minutes. After drying, bust out your Sharpie and get to work lettering. If you're uncomfortable using the Sharpie freehand, try practicing a few times on a blank piece of paper. And remember to make more should you make any mistakes!
All of my cards needed at least two coats of the Sharpie. Don't be afraid to go back over a few times as needed!


And ta da - you're finished! Let me know if you try this - I'd love to see it!
Save
Save